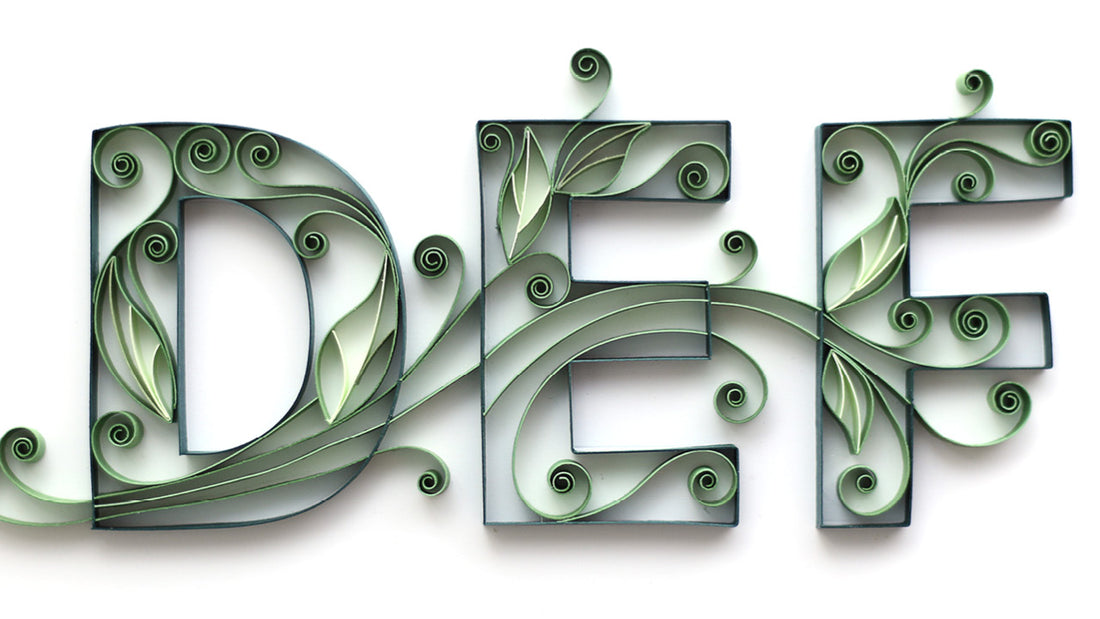
Make a name or word by combining letters for your quilling project. After printing the outlined letters, use a pencil (and lots of eraser) to draw arcs on top of the template, connecting the letters to give the whole piece cohesiveness. The letters E and F only have straight sides, so I made sure to give them many swirls to soften them up a bit. Going outside the lines of the letters is fun too, and to me, it kind of says "quilling can't be contained!"

Just as you've seen me soften the strips to follow the letter outlines, you can now follow your own drawn lines to use them as guides. My final pieces rarely look exactly like my drawing, because once the glued strip touches my surface, it's sometimes worse to pick it up and move on. If I feel the error is going to be very visible, I'll just leave it. However, if you have no choice but to UNDO a glued piece, I show just how to do that too.

Watch the tutorial video to see how it's done.