Although I have already shown how to make shapes intersecting the letter outline in a previous YouTube video, this time I'm going to cut the letter, and not the shape, because the shapes don't lend themselves to easy cutting.
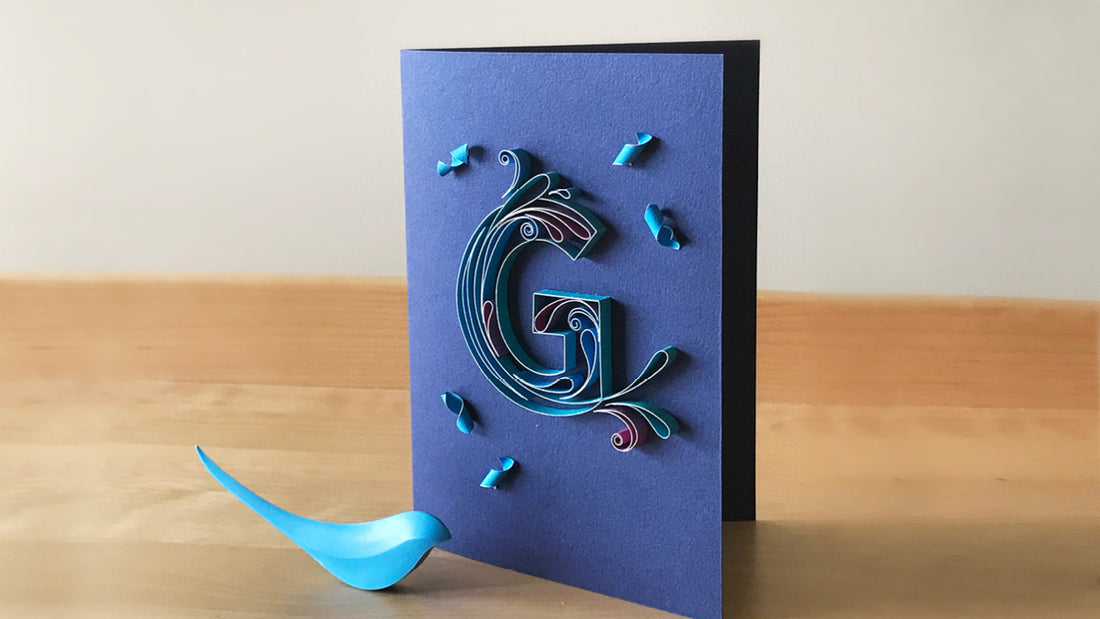
I first saw these dynamic teardrop shapes in a piece by Yulia Brodskaya and just love how much movement they convey, so I'll show you how to make them in my tutorial video. I also show how to make the doubled up loose scroll. If you like making confetti, as if they are falling from the ceiling, and it's super easy to do.
After gluing the design down, I realized it didn't pop off the page as much as I thought it would, so I dabbed a bit of metallic stamp pad on the surface and boom! Instant wow factor.

5 x 7 inches for a card is quite typical and great to cut from a single sheet of 8.5 x 11 card stock. So here's a template for the popular card size, which has a base and center line for easy swap out with any letter from my book.

As a new year unfolds, and I pause to reflect on how many self-imposed mental blocks I put up before hitting the "publish" button on this Quilling Letters book and video tutorials. I'm so grateful to you, my reader and commenter, for the encouraging words you've given me along the way. I wish I knew how rewarding it would turn out to be - it would have given me the confidence to go full steam ahead sooner.
Then again, I wouldn't have learned what it feels like to overcome this challenge either. That's the whole point of a challenge, to overcome your fears, doubts, obstacles, and try to have fun along the way. I hope 2018 is a time when you and I both overcome challenges we never imagined being able to conquer just one year ago.
Happy Crafty New Year to you!
Cecelia