Many people tell me I make quilling look easy, and that it's harder than it looks. I gave this much thought and tried to break down my steps further.
So I created a "7 Day Quilling Curve Challenge Worksheet", which I hope can help your fingers learn how much pressure is needed to shape any curve you want.
Practice these quilling curves a few minutes a day for 7 days. Compare how you did on day 1 to day 7, and see how you’ve improved.


Make Curves Easily
After practicing these arcs, you’ll be able to achieve the curves you see, or follow a template or drawing you’ve made. Remember to only compare yourself to YOU, not anyone else.
I made this tutorial because my friend said I make this look easier than it is for her. So I thought it over and I’m trying to break down my steps further for you. So if you have other questions, please comment below and it’ll help me think of new ideas for future tutorials.
Curves After 7 Days
Did you practice curving these 6 shapes using my 3 simple techniques? Did you see improvement? Were you able to achieve the smooth arcs more quickly?
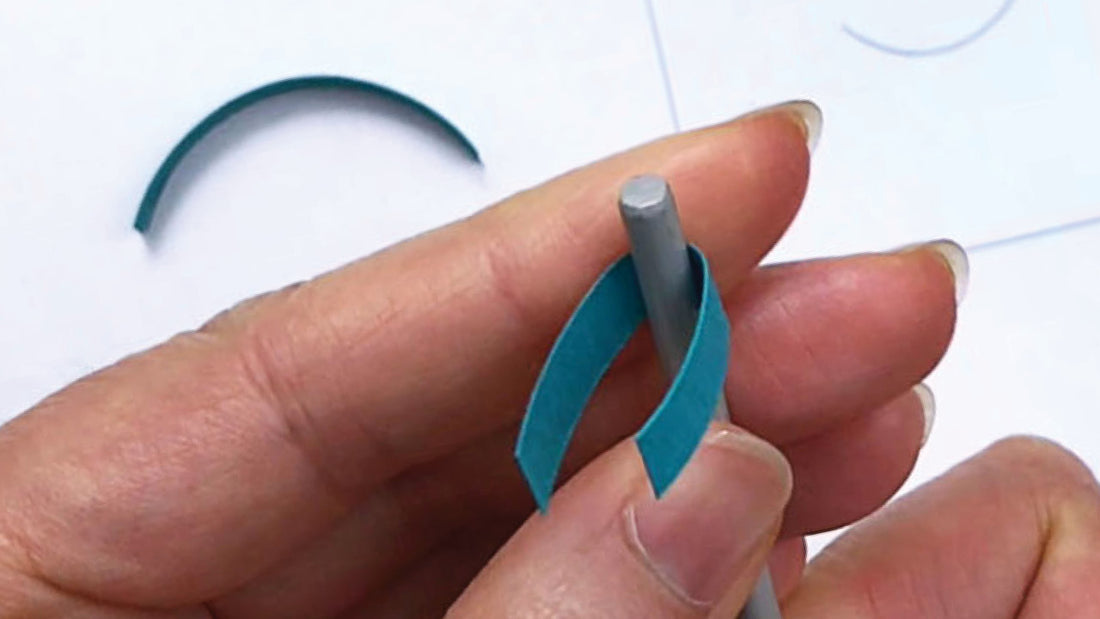
In this video, I'm going to show you how to tackle the challenge using conventional quilling strips and a standard needle tool, just so you know you can do it regardless of type of paper or tools.