In my latest free tutorial, I’ll be showing you step-by-step, a couple of methods of how to cut your quilling strips by hand. Download my free printable PDF template. There’s also bonus that I’m sure any quiller will enjoy!
I've made the following widths for DIY Quilling Strips:
Materials
- sharp craft knife (Method 1 + 2)
- metal ruler (Method 1 + 2)
- cutting mat (Method 1 + 2)
- rotary cutter (Method 3)

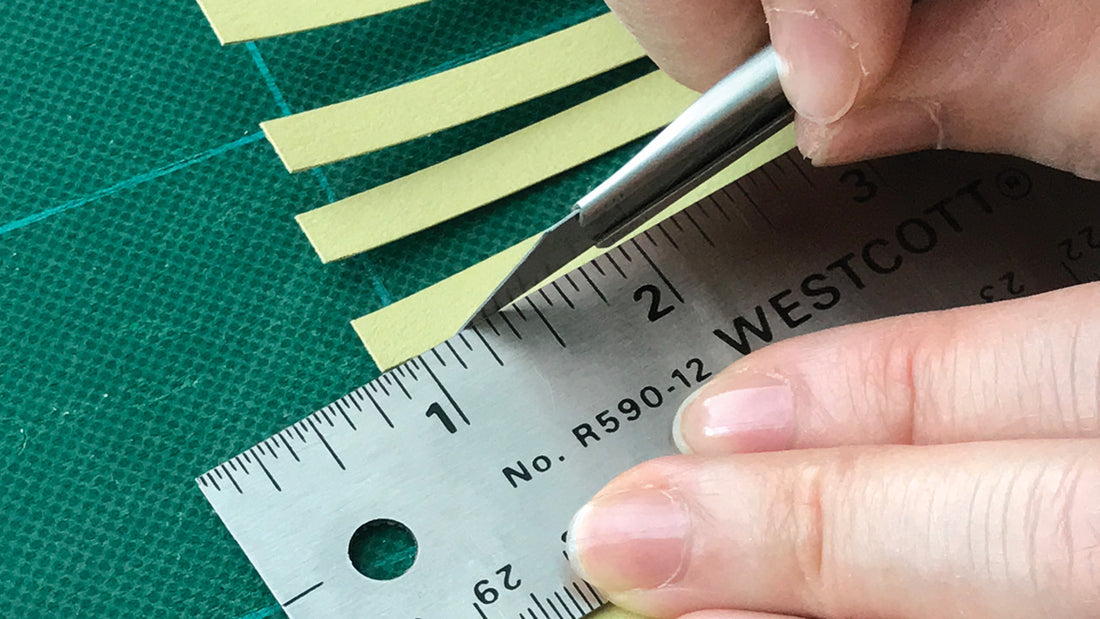
Method 1: Cut Quilling Strips with Margins
Print the template directly onto your paper. Cut from the printed line at the top to the bottom, leaving margins. These margins help keep your paper extremely tidy.
Method 2: Cutting Without Margins
If you don’t want to waste any scrap of paper, you can cut edge to edge. Print the template on regular paper and cut off both “rulers”. Tape these rulers to your cutting mat, leaving enough space for the full length of your paper in between. Cut edge to edge, with no wastage. You would never want to print the markings onto your paper, and then cut all the way, because the markings would show on your quilling strips, and that just won’t do!
Method 3: Rotary Cutter
Watch the video to see how to find your exact cutting edge. You'll also see how to make a jig for cutting the same strip width without needing to look at your markings at all. Discover how to make a fringe so you can trim off the excess markings.
Bonus: Editable Message
Type a message onto your quilling strip, then cut it out. Wrap a gift or start quilling with your customized ribbon. It’s like a message in a bottle!